Quick start
From the disk image to an exported take. About ten minutes if your interface is already plugged in.
- Install. Open the disk image and drag Audizer to Applications. Launch it. When macOS asks for microphone access, allow it; without it, recording from any input stays silent.
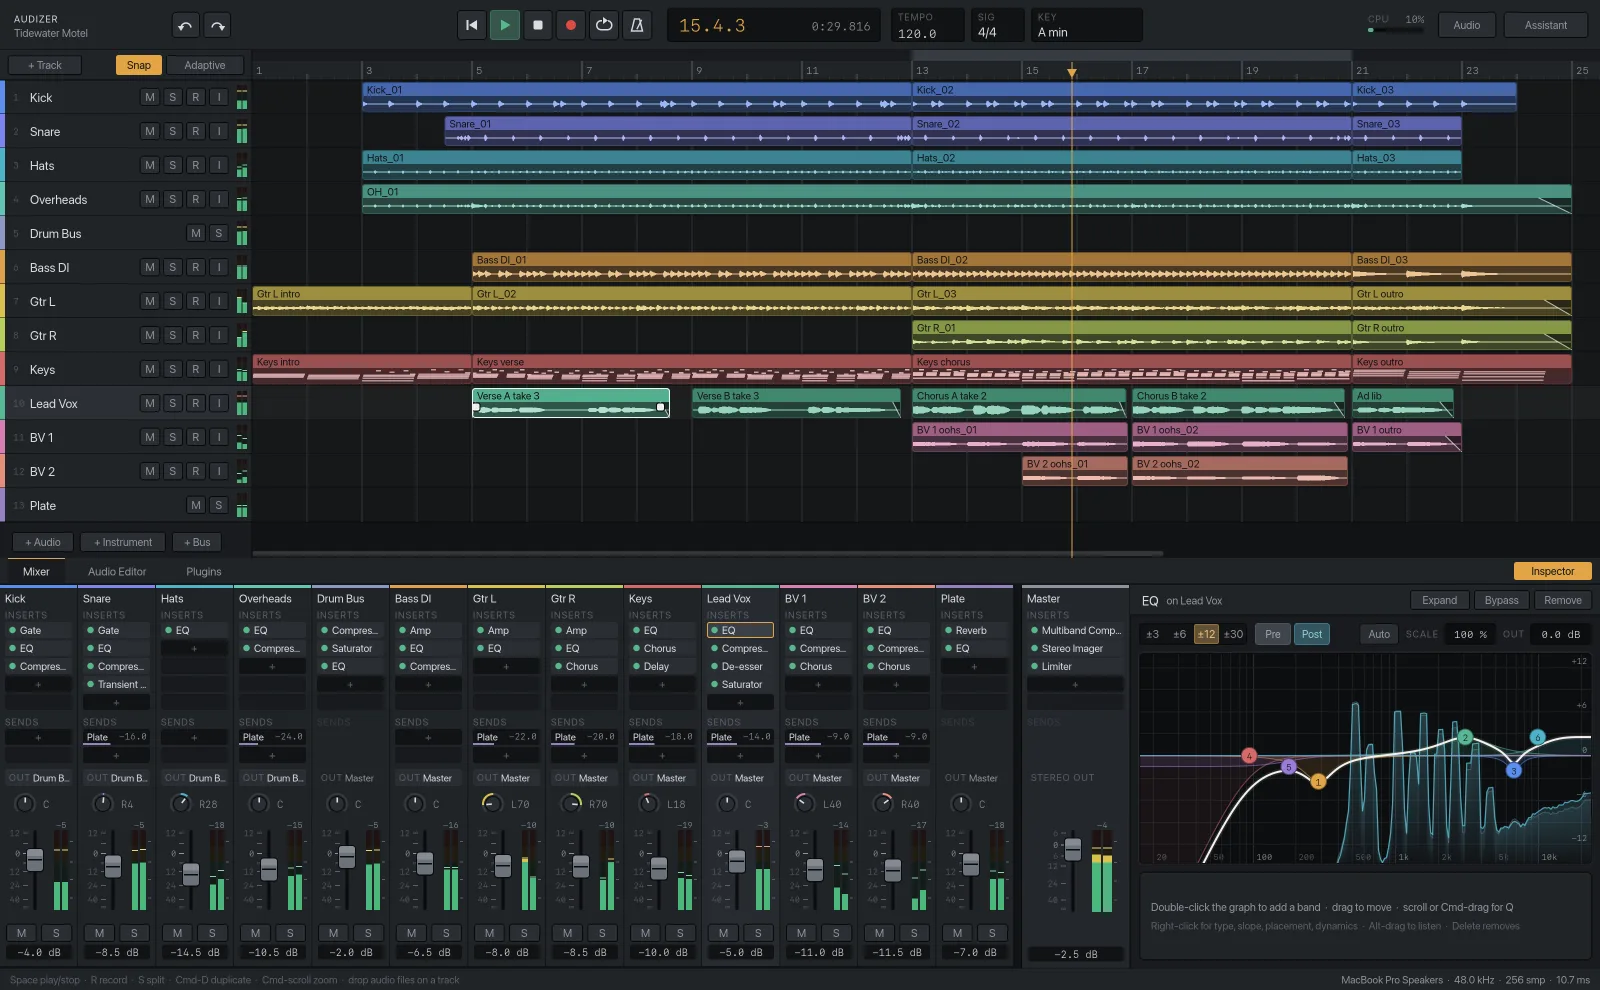
- Choose your audio device. Click Audio in the top bar and pick your interface, sample rate and buffer size. The status bar along the bottom shows the current device, sample rate, buffer and latency.
- Set tempo and key. The top bar has fields for tempo, time signature and key. Set the key before tuning anything: pitch correction moves notes toward the song key.
- Add a track. Use + Audio, + Instrument or + Bus under the track list. Audio tracks record from an input; instrument tracks play the built-in synth or a plugin instrument from MIDI.
- Record. Arm the track with its R button, then press R on the keyboard to record and Space to stop. The take lands on the timeline, compensated for latency.
- Edit. Select a clip and open the Audio Editor tab for clip gain, fades, Normalize, Strip silence and Reverse. On the timeline, S splits at the playhead and Cmd-D duplicates.
- Add effects. In the Mixer tab, click + in a track's insert slots, or open the Plugins tab and double-click a processor to add it to the selected track. Press Rescan there to list your VST3 and Audio Unit plugins.
- Ask the assistant. Optional. Once it is connected (see below), click Assistant in the top bar, select the clip or track you mean, and type what you want the way you would say it: "100 on the drums", "tighten this up". Return sends it. Each step it takes is listed in the panel and can be undone.
- Export. When the mix is where you want it, export it as a WAV.
Keyboard and mouse
| Do this | To |
|---|---|
| Space | Play and stop |
| R | Record on armed tracks |
| S | Split the selected clip at the playhead |
| Cmd D | Duplicate the selected clip |
| Cmd + scroll | Zoom the timeline |
| Drop audio files on a track | Import them as clips |
| Return in the assistant box | Send the request (Shift Return for a new line) |
In the piano roll
| Do this | To |
|---|---|
| Drag in empty space | Draw a note |
| Drag a note | Move it |
| Drag a note's right edge | Change its length |
| Right-click or Delete | Remove a note |
| Drag in the velocity lane | Set velocity |
Connect the assistant
The assistant is optional, and everything else in Audizer works without it. It runs on your own Amazon Bedrock access, so the model usage is billed by AWS to your account.
- Create a Bedrock API key in the AWS console. AWS's own instructions are here: Amazon Bedrock API keys. An AWS access key, or an AWS profile already set up on your Mac, also works.
- Check model access. In the Bedrock console, make sure model access is enabled for the region you plan to use.
- Paste it in. In Audizer, open Assistant → Settings → Connect, choose the region and paste the key.
- Press Test connection. When it passes, the assistant is ready.
Your credentials are stored in the macOS Keychain and are sent only to Amazon Bedrock. In the same settings you can choose the quality level (Best, Balanced or Economy, depending on what your account has access to) and the effort, and set a per-request spending limit, a monthly spending limit and a step limit. Every request shows a running cost estimate.
A first session worth trying
Record one vocal take over a guitar or a loop. Select the vocal clip and, if you've connected the assistant, type "clean this up and tune it". Read the report: it'll tell you how many cents off the take was before and after, and what it cut. Then undo the whole turn and do the same job by hand with Strip silence and the note editor. You'll see both routes produce the same kind of edits.
If something's missing
This is an early release. The download page lists what it doesn't do yet, including automation, tempo changes and sidechain compression. For anything else, write to support@intuzu.com.